How to Install Skins in Minecraft
Using skins, you can change your Minecraft character’s appearance. There are many ready-made skins, and players can create their own ones. But the question is How to change skin in Minecraft?
In this guide, we’ll tell you about installing the Minecraft skins on various platforms: Android, iOS, iPad OS, Windows 10 & 11. Please note: it’s important that the skin is in PNG format and has a resolution of 64×64 or 128×128 pixels.
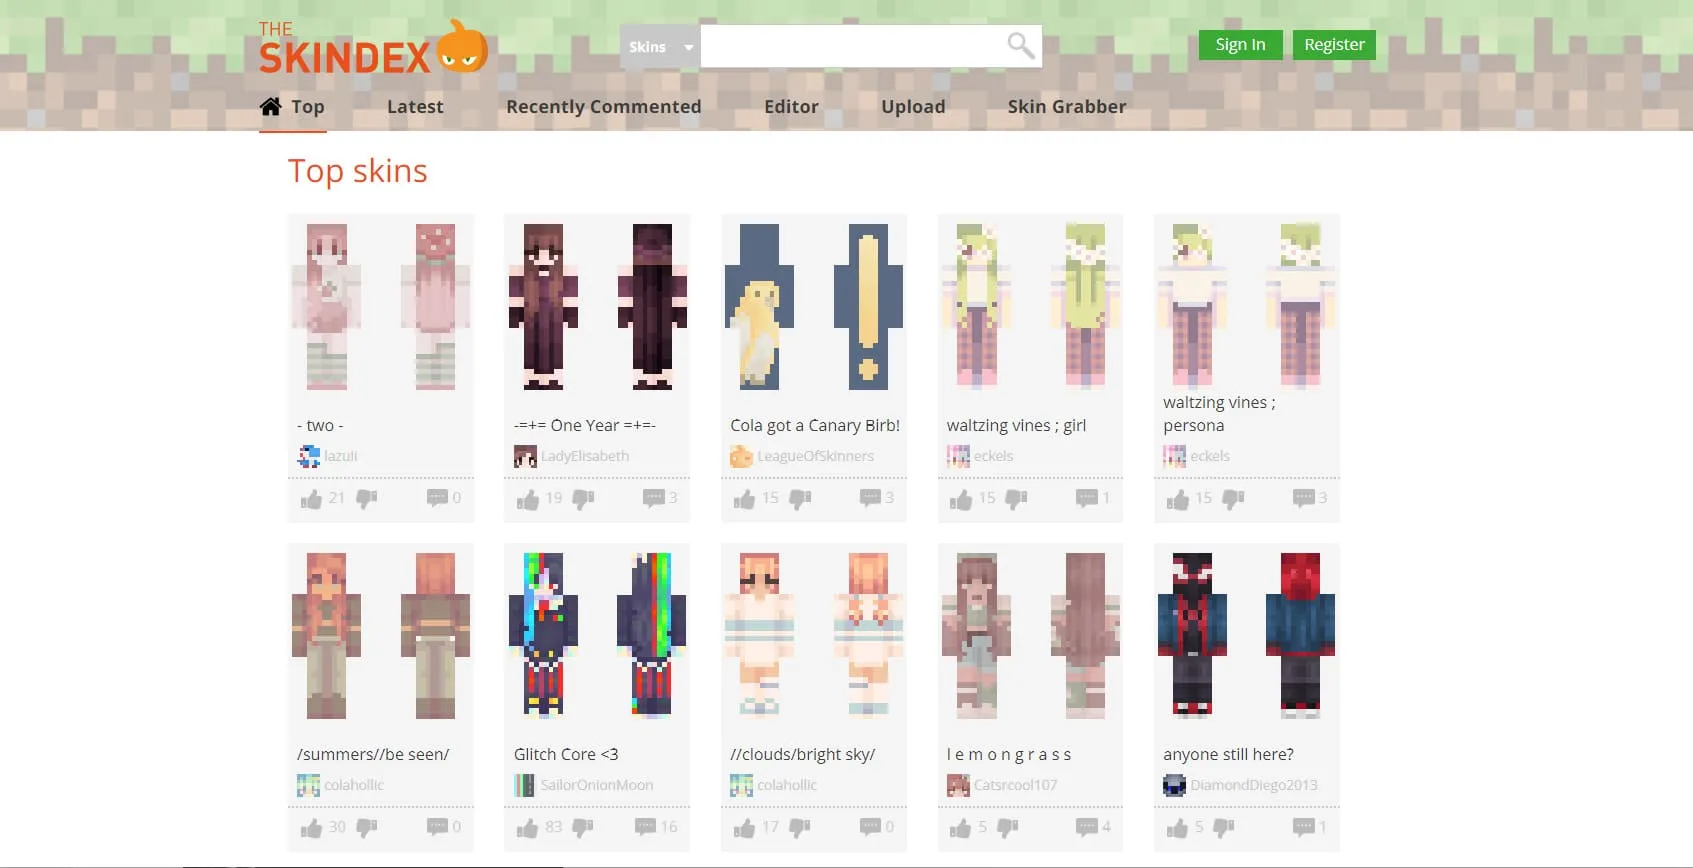
To find and download the skins, we recommend you to go to MinecraftSkins.com.
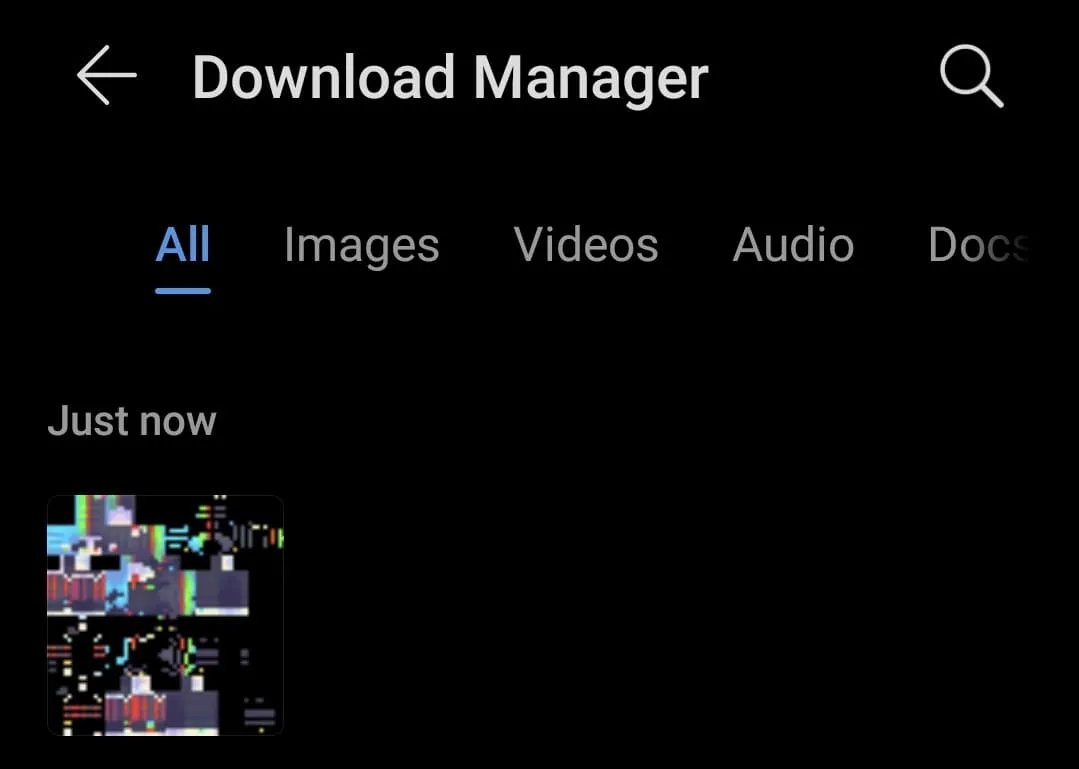
Download the skin file in PNG format to your device. The file manager can be displayed in different ways depending on the device you use.
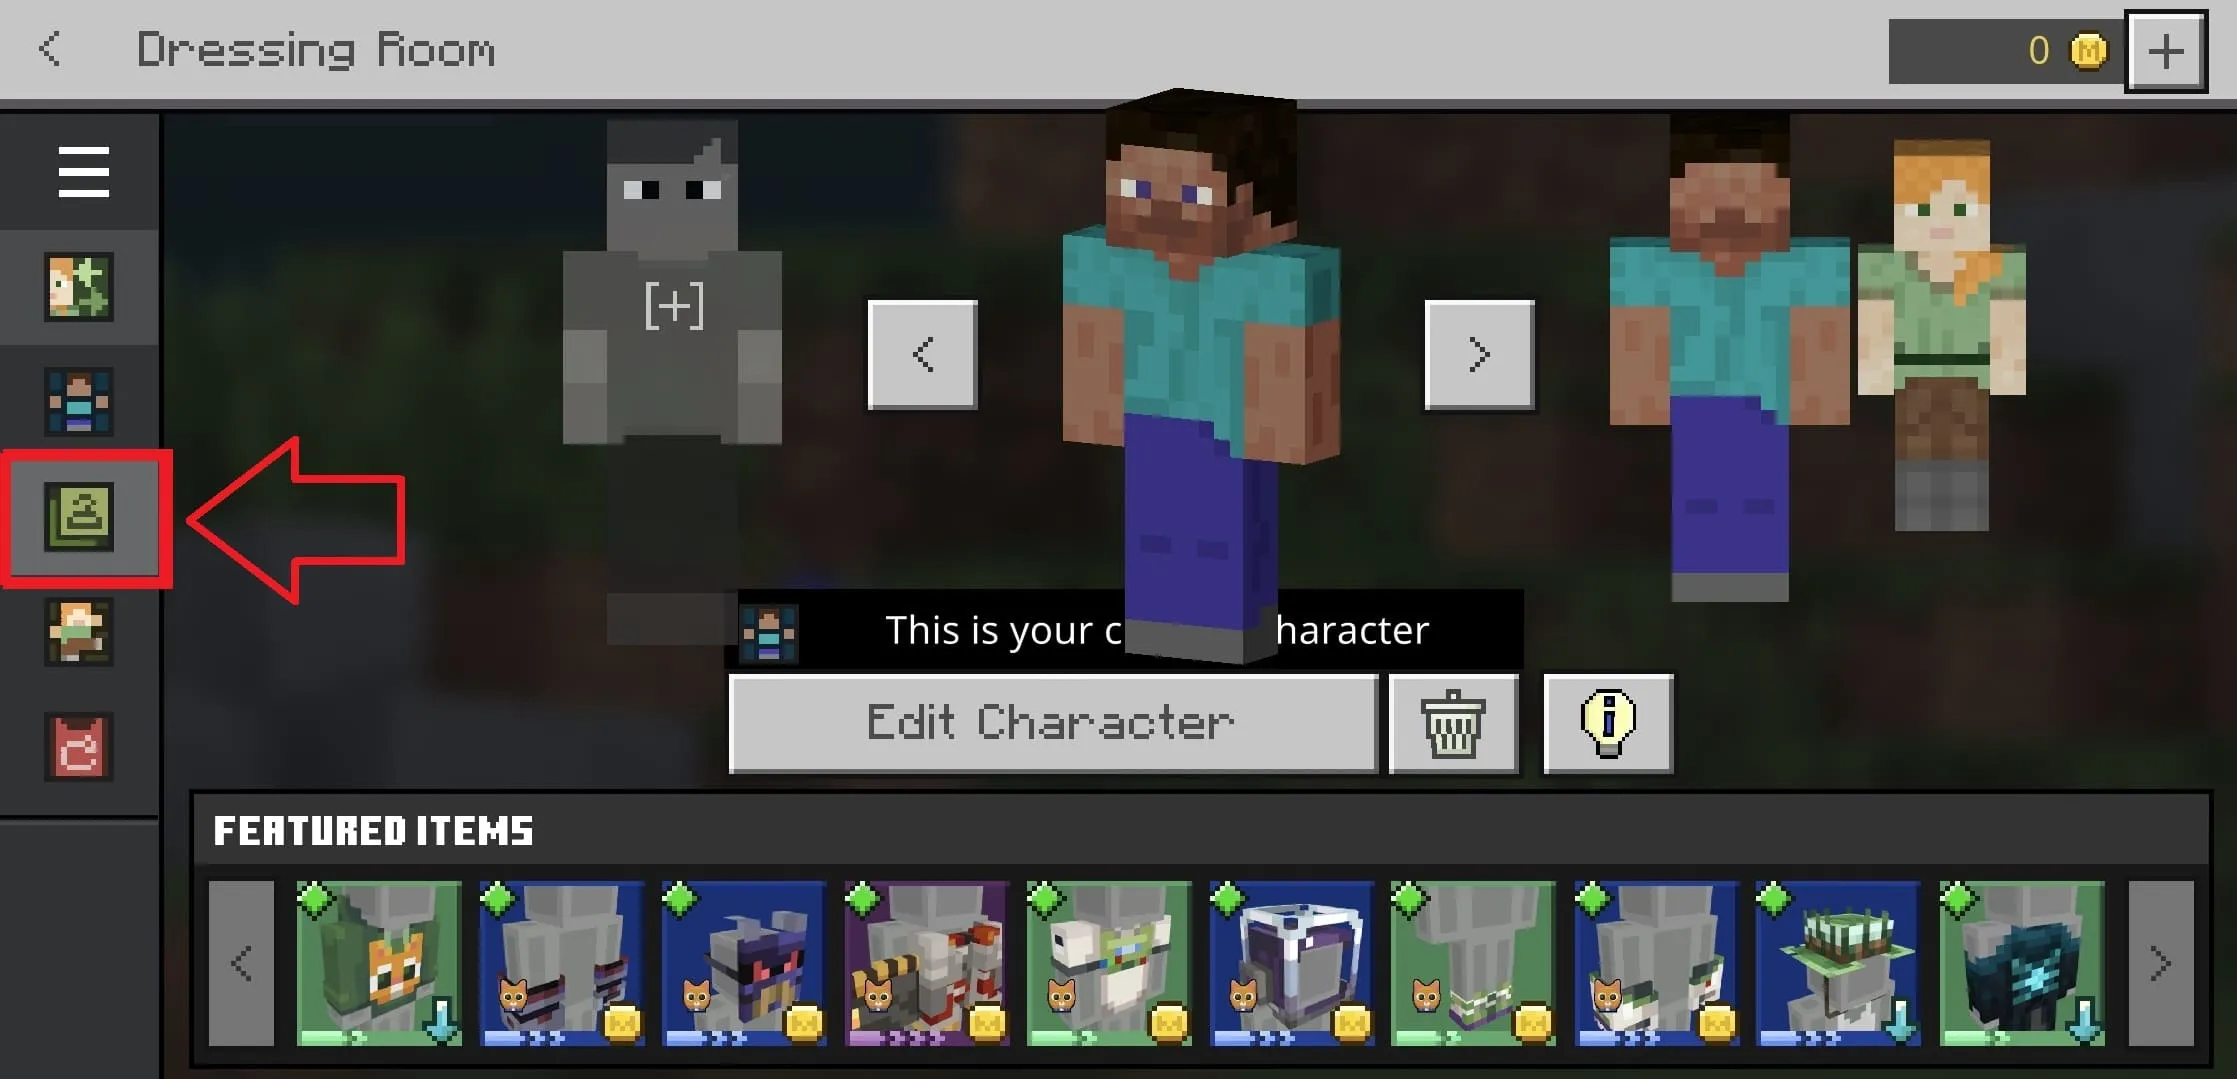
Launch Minecraft and open the Dressing Room.
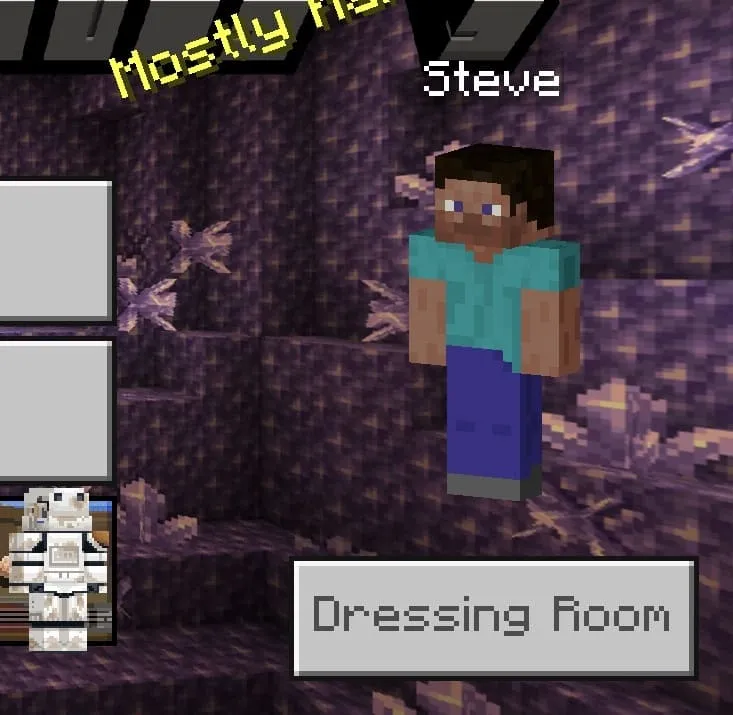
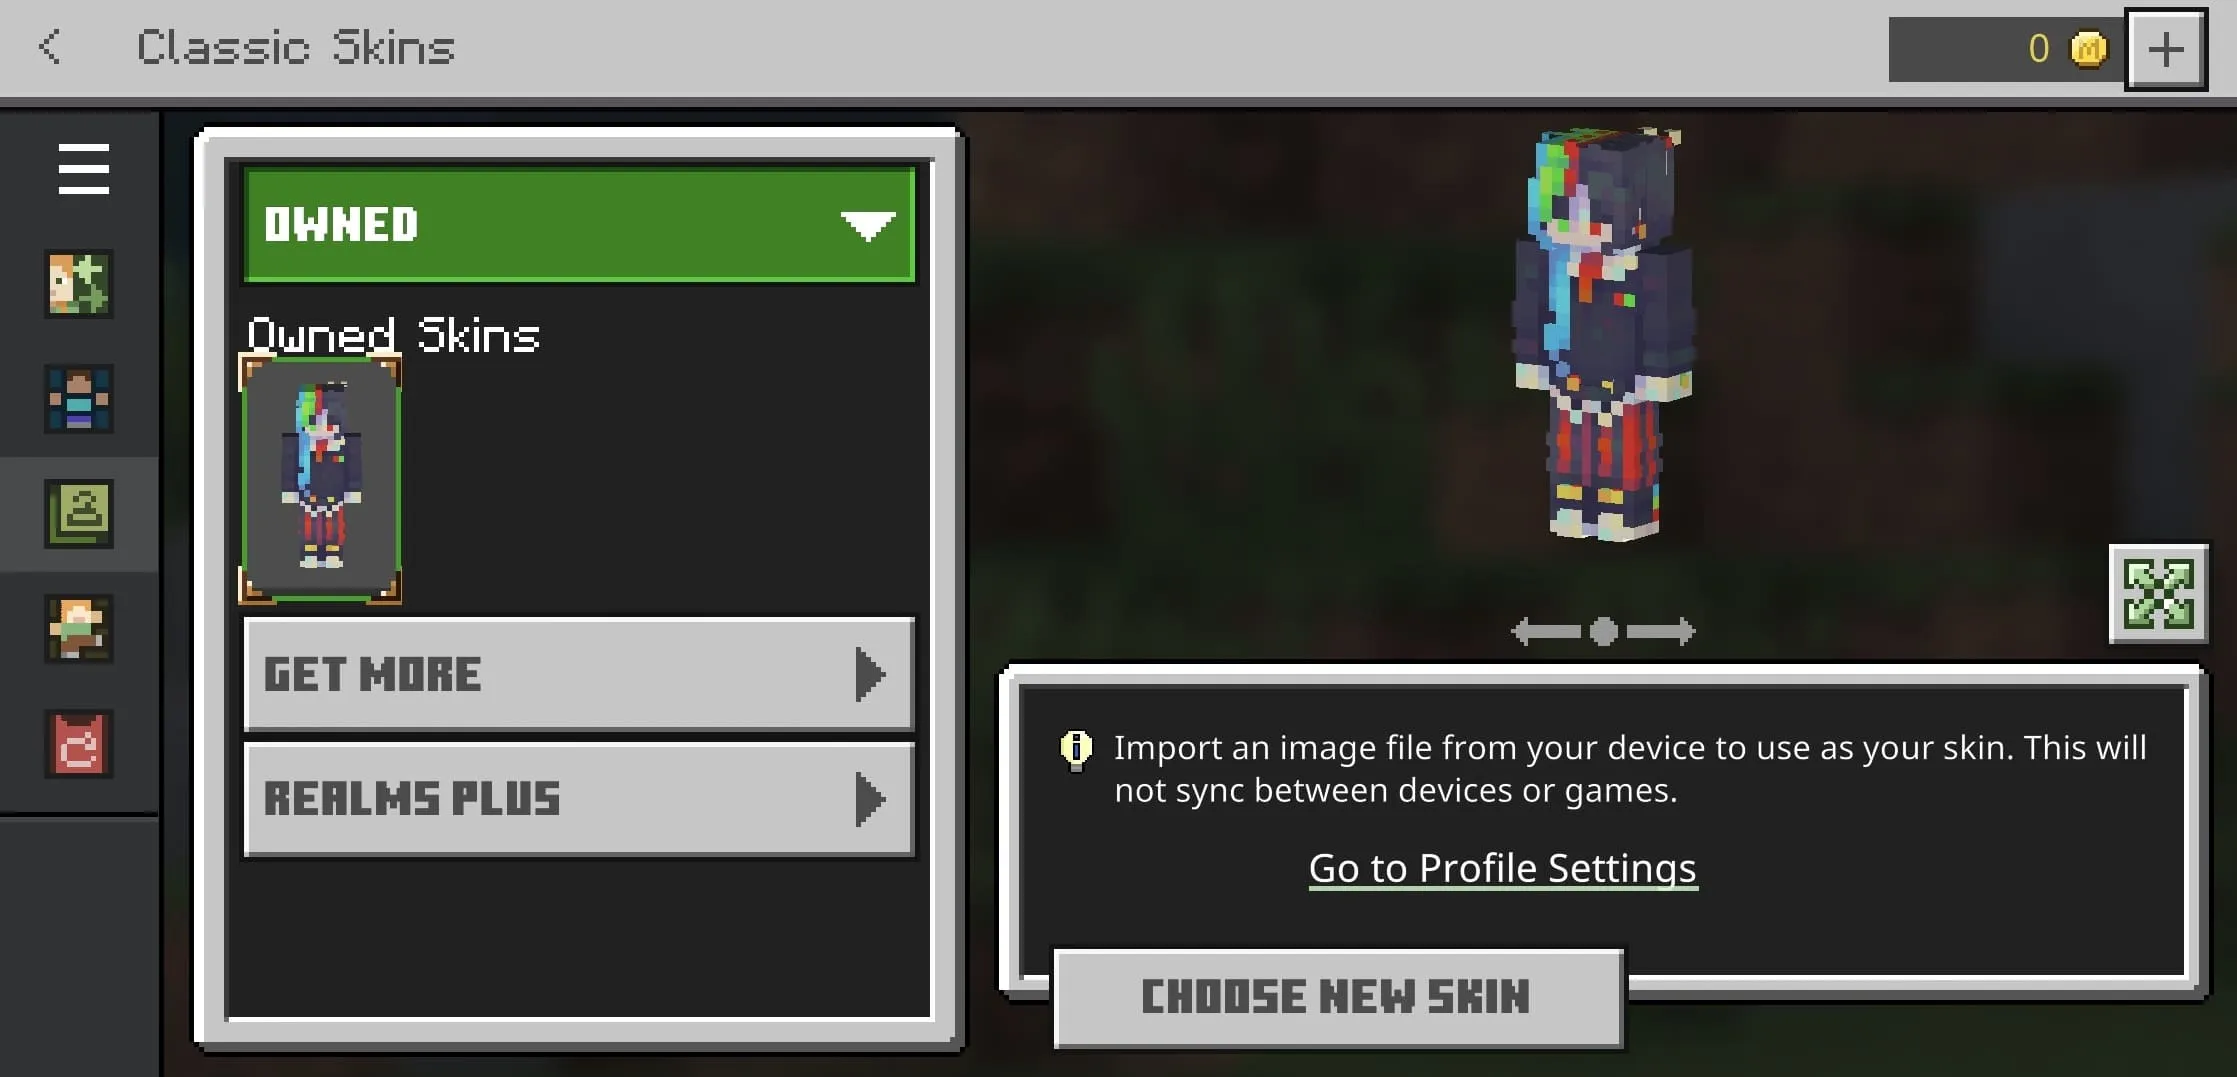
Okay. Now, you’re in the Dressing Room. Please go to the Classic Skins tab (Clothes Hanger icon).
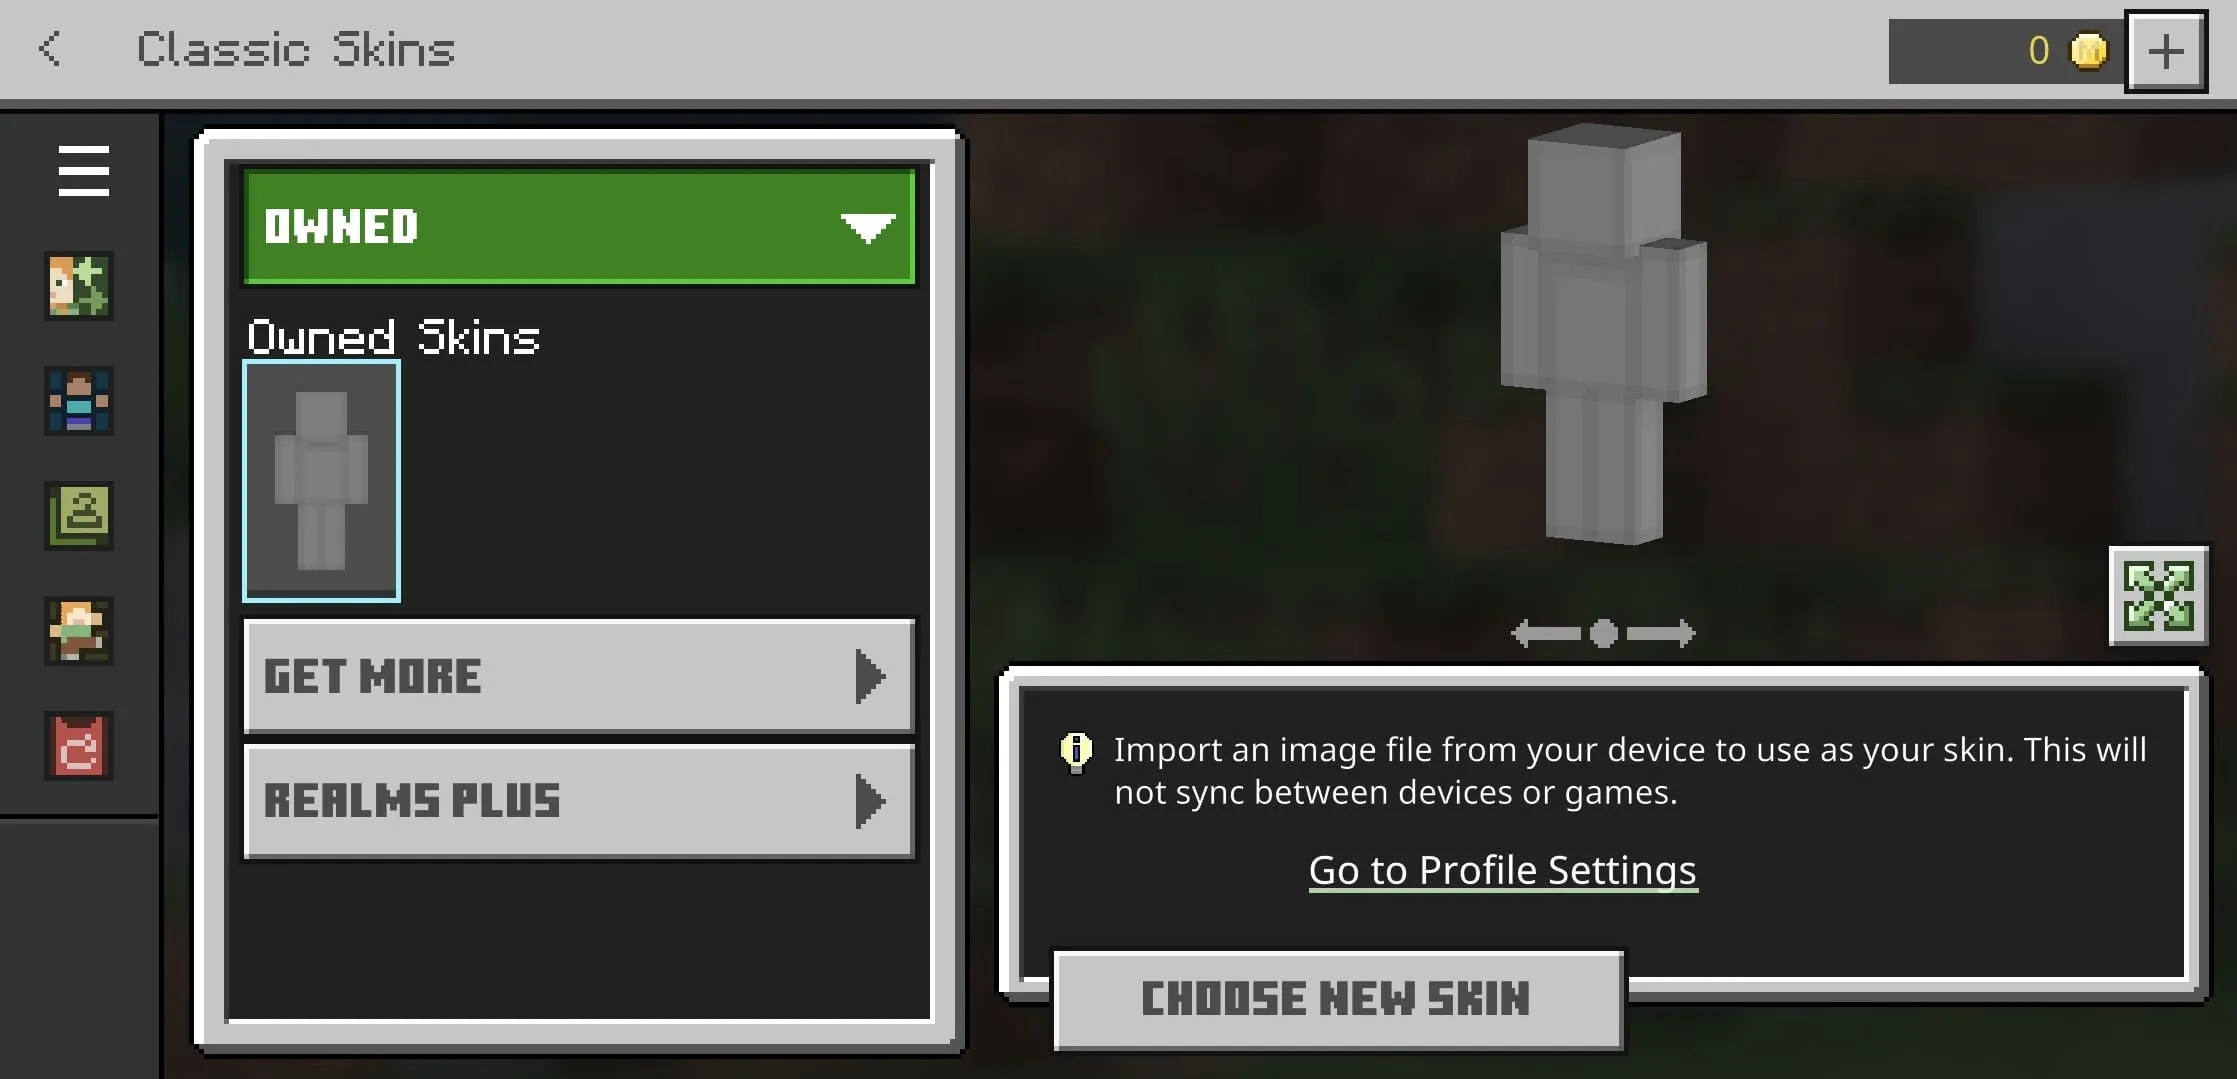
Open Owned tab. Click the gray doll under the Import sign. Next, click Choose New Skin.
Select the skin in the gallery (file manager, if you use Windows OS) and import it to the Minecraft game.

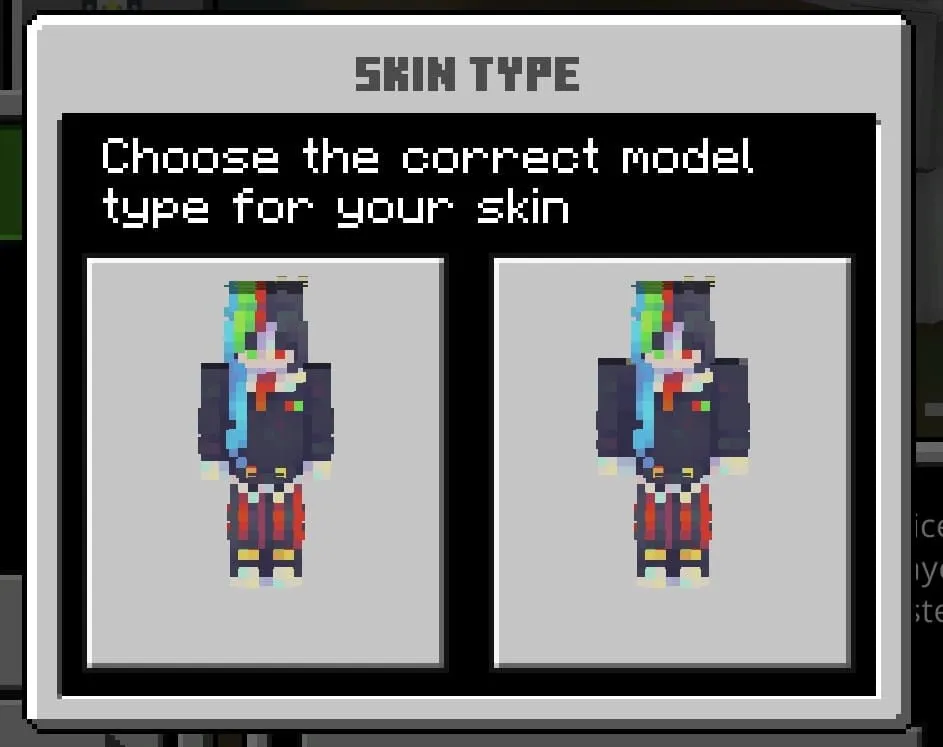
Select the skin model type.
The Minecraft skin has been imported. Now, you can play the game with this skin on Android, iPhone, iPad or Windows.