How to Cure a Zombie Villager in Minecraft Bedrock
There's something deeply satisfying about saving a zombie villager. One minute it's a groaning, hostile mess shambling toward you in the dark. Five minutes later it's a functioning member of society offering you discounted enchanted books. Minecraft economics at their finest!
Curing zombie villagers is one of the most useful mechanics in the game, especially on Bedrock Edition where a single cure can slash trade prices dramatically. This guide walks you through the entire process: what you need, how to do it, what can go wrong, and how to use cured villagers to build an insanely cheap trading setup.
What You Need
The cure requires exactly two items. No more, no less.
1. Splash Potion of Weakness
You'll need to brew this. Here's the recipe chain:
- Fill glass bottles with water to make Water Bottles
- Brew a Fermented Spider Eye into the Water Bottles using a Brewing Stand (this creates a Potion of Weakness)
- Add Gunpowder to convert it into a Splash Potion of Weakness
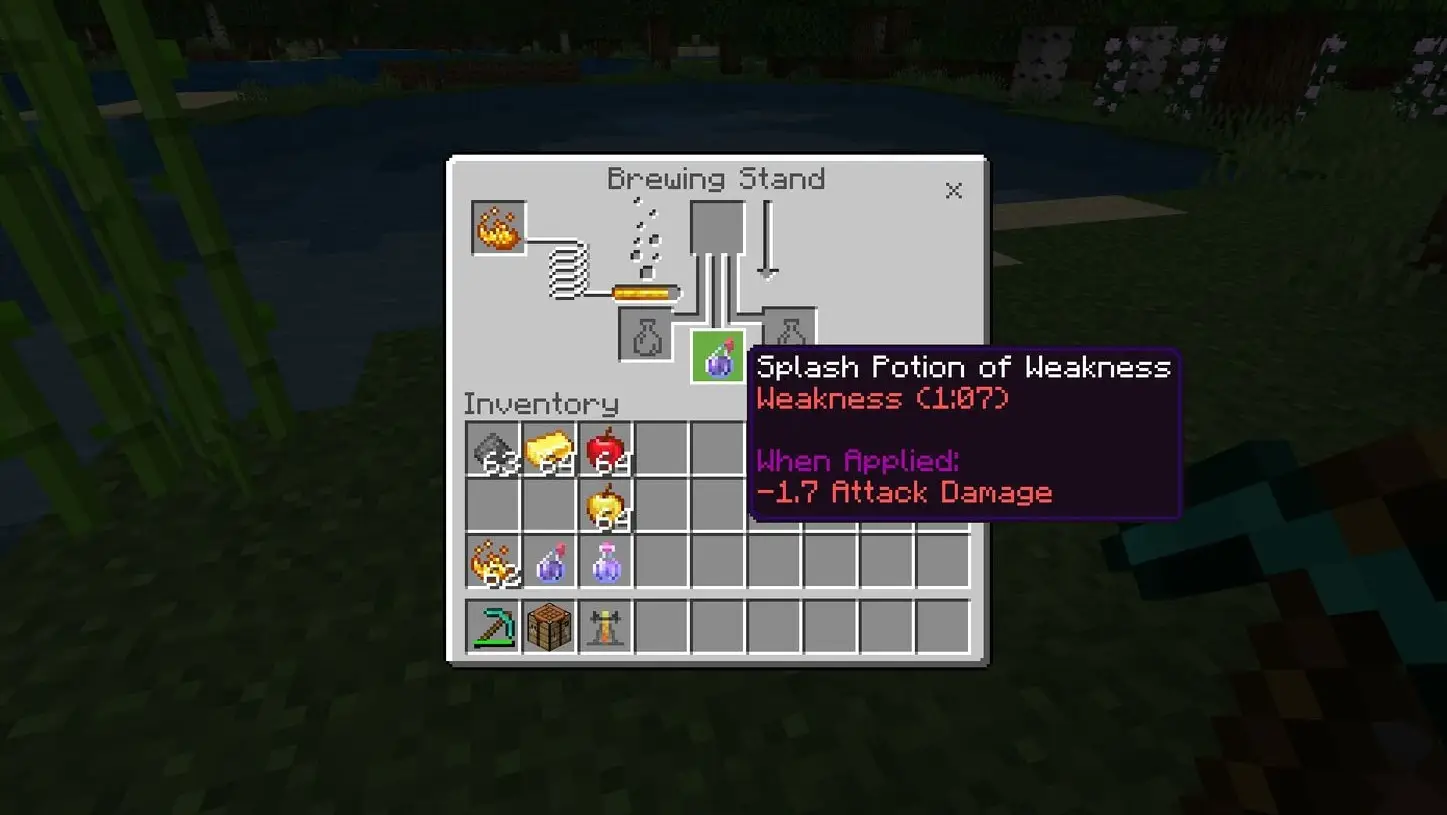
The fermented spider eye is crafted from a spider eye, brown mushroom, and sugar. If you haven't set up brewing yet, this might be the push you need. It's worth it.
Alternative: if you don't have brewing supplies, you can use an Arrow of Weakness instead. On Bedrock Edition, you can make these by filling a cauldron with a Potion of Weakness and then dipping arrows into it. A full cauldron tips an entire stack. You can also get them from master-level fletcher villagers.
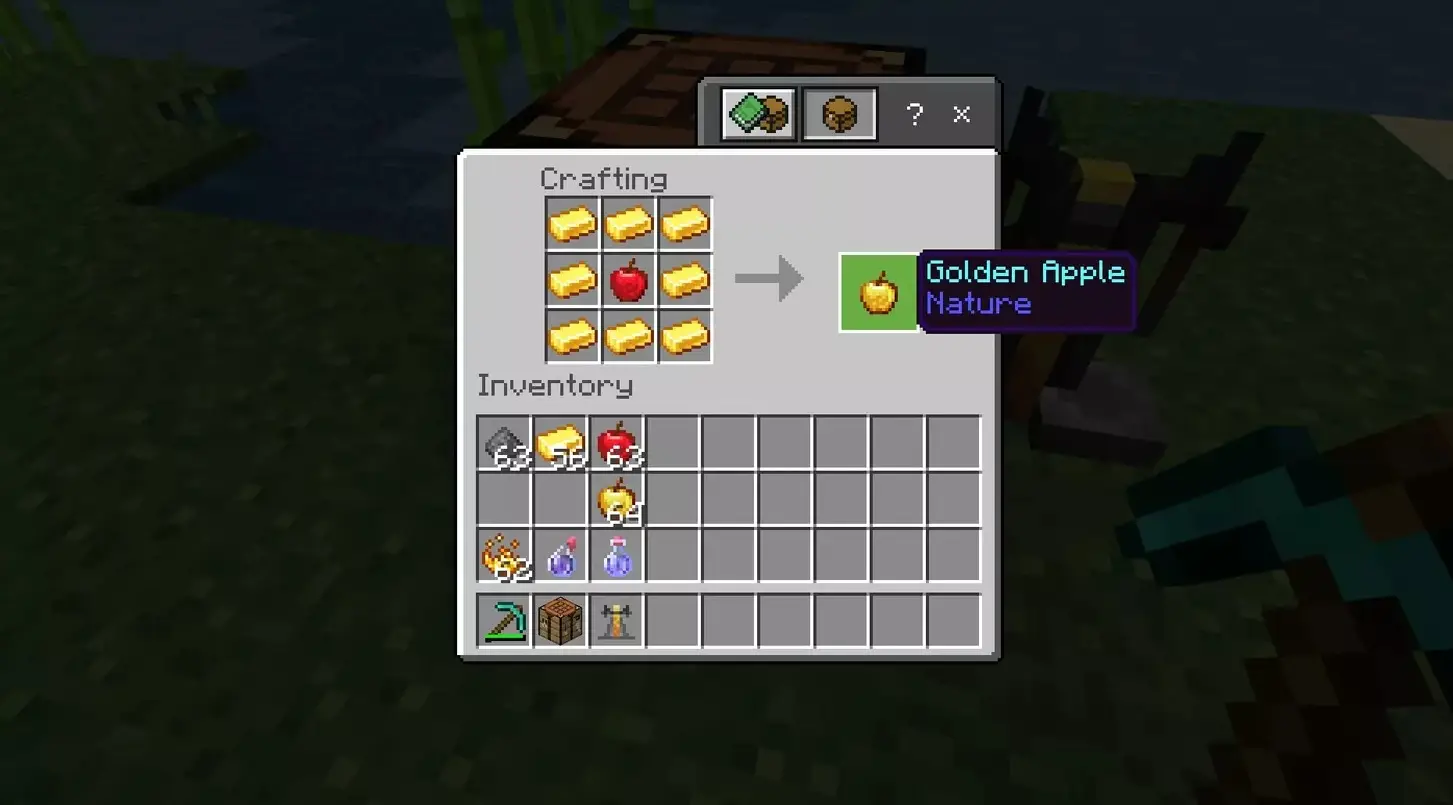
2. Golden Apple
Crafted from one apple surrounded by eight gold ingots. That's 8 gold ingots total, so you'll need to do some mining first. Golden apples also show up in dungeon chests, desert temple chests, and various other structure loot. You want the regular golden apple, not the enchanted one (though the enchanted one works too, it's just overkill).
How to Cure a Zombie Villager
Once you have both items, the process is simple:
- Find or create a zombie villager. They spawn naturally (5% chance whenever zombies spawn), or you can let a zombie attack a regular villager to convert them. More on finding them below.
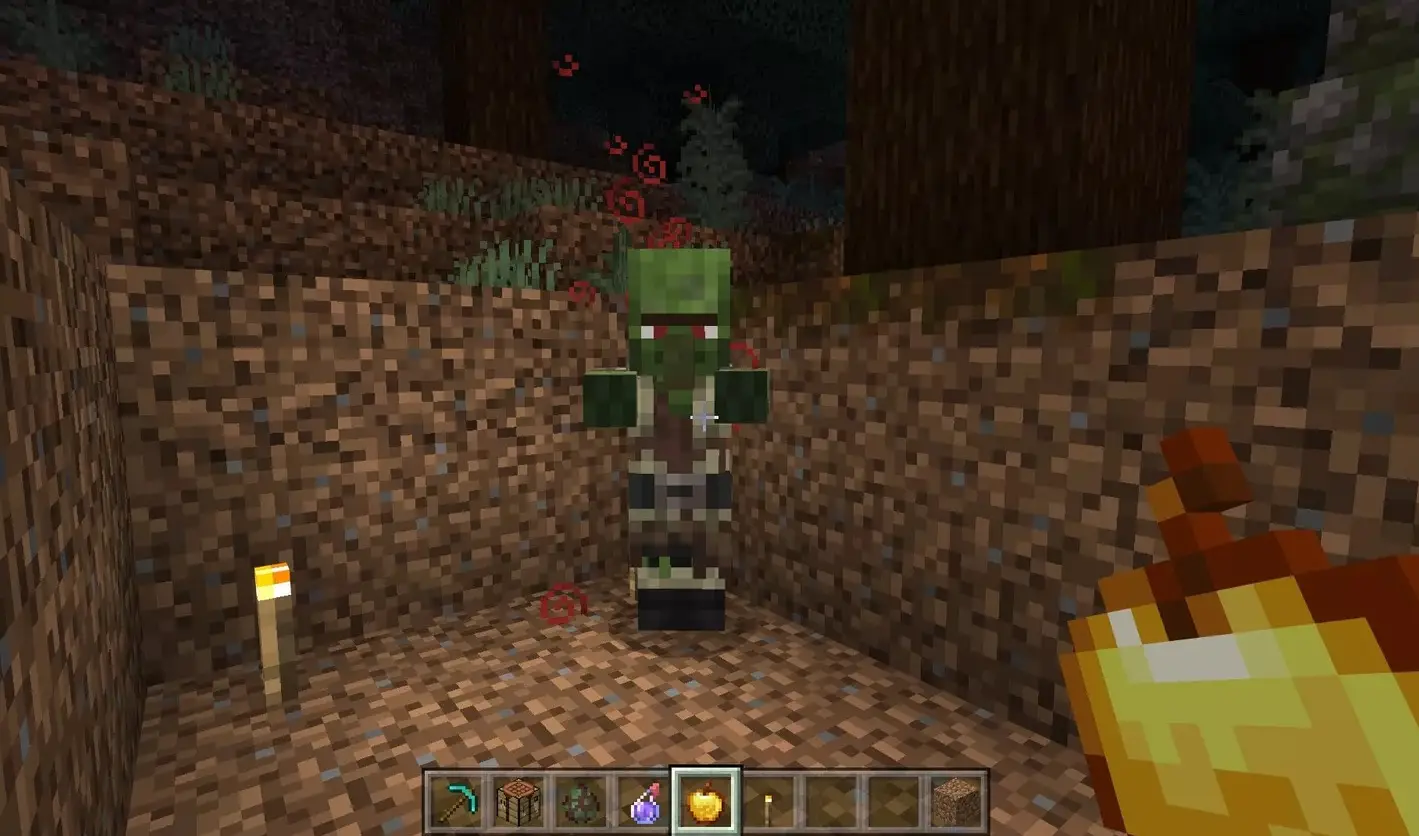
- Trap the zombie villager. This is important. You need it contained so it doesn't wander off or burn in sunlight. A simple 2-block-deep hole works. A boat or minecart works even better since it locks them in place.
- Throw the Splash Potion of Weakness at it. You'll see grey swirl particles appear around the zombie villager, confirming the Weakness effect is active.
- Use the Golden Apple on it. Walk up to the weakened zombie villager and interact with it while holding the golden apple (use/place button). The zombie villager will start shaking and emit red particles.
- Wait. The curing process takes 2 to 5 minutes. The zombie villager will keep shaking the entire time. Don't hit it, don't let other mobs hit it, and don't wander too far away.
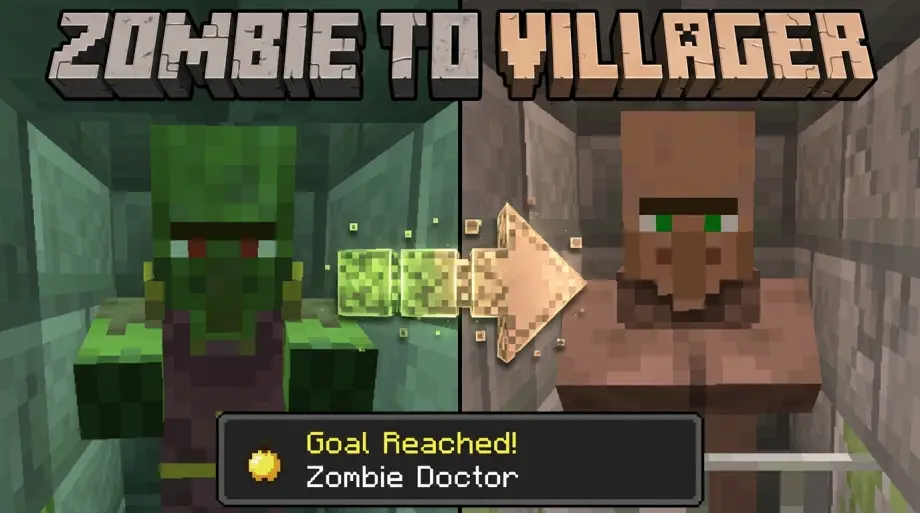
- Done. After the timer finishes, the zombie villager transforms back into a regular villager with a loud pop sound and a burst of particles.
That's it. You've just saved a life. And more importantly, unlocked a permanent trade discount.
Where to Find Zombie Villagers
You have a few options:
Natural spawns. Zombie villagers have a 5% chance of spawning whenever regular zombies spawn. So any night of exploring or mob farming has a chance to produce one. They look like zombies but with the villager's distinctive big nose and tattered clothes (on Bedrock they all look the same regardless of profession).
Igloo basements. Some igloos in snowy biomes have a hidden basement under the carpet. Inside you'll find a zombie villager already trapped behind iron bars, along with a splash potion of weakness and a golden apple. It's basically a built-in tutorial from Mojang. If you spawn near a snowy biome, this is the easiest way to do your first cure.
Convert a regular villager. Let a zombie attack a villager, and there's a chance the villager turns into a zombie villager instead of just dying. The conversion chance depends on difficulty:
- Easy: 0% (the villager just dies)
- Normal: 50% chance of conversion
- Hard: 100% chance of conversion
If you're planning to use this mechanic seriously, play on Hard difficulty. Losing a good villager to a 50/50 coin flip on Normal is painful.
Bedrock vs Java: The Key Differences
This is where a lot of guides get confusing, because they mix up Java and Bedrock mechanics. Here's what's specific to Bedrock:
You can't speed up the cure. On Java Edition, placing beds, iron bars, and a workstation near the zombie villager can reduce the curing time to about 30 seconds. On Bedrock, this doesn't work. The cure always takes 2 to 5 minutes. Just wait it out.
Zombie villagers all look the same. On Java, zombie villagers keep their profession outfit (tattered librarian robes, farmer hat, etc.). On Bedrock, every zombie villager looks identical regardless of profession. You won't know what profession they had until after you cure them.
Naturally spawned zombie villagers have a random profession on Bedrock, but it's not locked. Once cured, the villager may change profession if there's a nearby job site block that doesn't match. If you want a specific profession, place the right workstation nearby after curing.
Discount spreading. When you cure a zombie villager on Bedrock, villagers within a 16-block cube also receive a smaller discount. This means one cure can give discounts to an entire trading hall if your villagers are close together.
Trade Discounts: How They Work
This is the real reason people cure zombie villagers. The discounts are significant.
When you cure a zombie villager, that villager permanently reduces its trade prices for the player who cured it. On recent versions of Bedrock (1.20.2+), a single cure gives the maximum discount, often dropping prices to 1 emerald for many trades. You don't need to repeatedly zombify and cure the same villager anymore.
A few things to keep in mind:
Demand still affects prices. If you buy the same item repeatedly, demand goes up and the price rises temporarily. It'll come back down after the villager restocks, but don't panic if prices seem higher right after a shopping spree.
Discounts are per-player on multiplayer. If you cure a villager on a Realm or server, only you get the discount. Other players need to cure the same villager themselves to unlock their own discounts.
Nearby villagers get a smaller discount. As mentioned above, villagers within 16 blocks of the cured villager also get a price reduction. It's smaller than the cured villager's discount, but it stacks if you cure multiple villagers in the same area.
Setting Up a Simple Curing Station
If you want to cure villagers repeatedly (for multiple villagers with different professions), a basic curing station saves a lot of hassle.
Here's a simple design:
- Dig a 1×1 hole, 2 blocks deep
- Place a trapdoor at the top of the hole (zombies think trapdoors are walkable and will fall in)
- Add a roof or overhead cover so the zombie villager doesn't burn during the day
- Keep a named zombie nearby in a separate chamber with a roof. A name tag prevents it from despawning. This is your "converter" zombie for turning villagers into zombie villagers on demand.
- When you want to cure a new villager: push the villager toward the zombie (boats and minecarts help), let it get converted, then splash the weakness potion and feed the golden apple
For an even simpler approach, just use a boat. Push a zombie villager into a boat and it can't move. Throw the potion, feed the apple, wait. The boat method is ugly but effective, and you can do it anywhere.
Common Problems and Fixes
"I used the golden apple but nothing happened." You need to apply the Weakness effect first. The order matters: Weakness first, then golden apple. If you don't see grey swirl particles on the zombie villager, the Weakness didn't land. Try again with another splash potion.
"The zombie villager burned in sunlight." They're still undead during the curing process. Keep them under cover or in a roofed area. Even a single block above their head works.
"The zombie villager died during curing." Something hit it. Other zombies, skeletons, or even an accidental player hit can kill it during the conversion. Make sure the area is lit and the zombie villager is properly trapped away from hostile mobs.
"The cured villager doesn't have any discounts." On Bedrock, if a naturally spawned zombie villager had no profession before curing, it may not show discounts until it picks up a job. Place a workstation nearby, let it assign a profession, then check the trades.
"I cured it but it turned into a nitwit." Nitwit villagers (the green-robed ones) can't be assigned a profession. If a zombie villager was a nitwit before zombification, it stays a nitwit after curing. Nothing you can do about that one except try with a different zombie villager.
Practical Uses for Cured Villagers
Mending books for 1 emerald. Cure a zombie villager, assign it as a librarian (place a lectern), and reroll the trades until you get Mending. With the curing discount, that Mending book costs 1 emerald instead of the usual 20+. This alone makes the entire curing mechanic worth learning.
Cheap diamond gear. Armorer and weaponsmith villagers at master level sell diamond armor and tools. With curing discounts, you can get full diamond armor for a handful of emeralds.
Emerald farming. Farmer villagers buy crops. With discounts, they'll buy smaller quantities for an emerald. Combine this with an automatic crop farm and you have a nearly endless emerald supply.
Trading hall with universal discounts. Cure one villager in the middle of your trading hall, and every villager within 16 blocks gets a discount too. Cure a few more and the entire hall benefits from stacked discounts.
Curing a zombie villager is one of those mechanics that seems niche until you realize it basically breaks the game's economy in your favor. One splash potion, one golden apple, five minutes of patience, and suddenly that librarian is selling you Mending for a single emerald.
On Bedrock, the process is straightforward: no speed-up tricks to worry about, no repeated zombification needed. Find or create a zombie villager, splash it, apple it, wait. The hardest part is honestly just finding your first zombie villager in the wild. After that, it's all discounts from here.