
Bedrock Achievement Guide: The 3 Hardest Ones and How to Beat Them
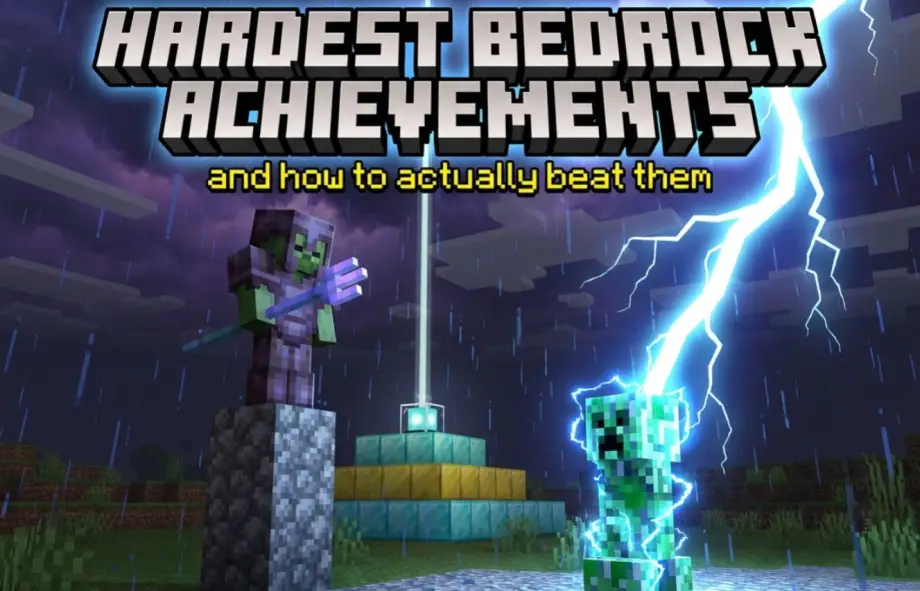
Search "hardest Minecraft achievements" and almost every result will tell you it's How Did We Get Here?, the one where you stack every status effect at once.
Here's the problem: that achievement doesn't exist in Bedrock Edition. It's a Java advancement. If you're on Bedrock and you've been planning a 33-effect potion marathon, you're chasing something that isn't in your game.
Bedrock has its own separate achievement list with different names, different requirements, and a completely different hardest-three. This guide covers how the Bedrock system actually works, the one mistake that locks you out permanently, and the three achievements that genuinely break people.
How Bedrock Achievements Work (Different From Java)
Before the hard ones, some mechanics worth knowing because they change how you should approach the whole list.
They're tied to your account, not your world. This is the big one. Java advancements reset with every new world. Bedrock achievements are permanent and account-wide, so anything you unlock counts forever across every world you ever play. You never have to redo one.
They can't be reset. Once earned, an achievement is locked in permanently. There's no way to clear your list and start fresh.
You can mark them as "in progress." A Bedrock-only quality-of-life feature. Open an achievement's detail screen and flag it so you can track what you're working toward.
To check your list: open Minecraft, sign in with your Microsoft account, click Profile at the bottom left of the home screen, then open the Achievements tab.
The Mistake That Locks You Out Forever
Read this before you touch anything else.
Enabling cheats in a Bedrock world permanently disables achievements in that world. Not temporarily. Turning cheats back off does not restore them. The world is flagged forever.
The traps people fall into:
- Running
/gamerule keepInventory trueto stop losing gear - Using
/locateto find a structure - Typing
/seedto check the world seed - Setting up a
/tickingareato keep farms loaded - Switching to Creative "just for a second" to grab a block
Every one of these kills achievements in that world. If you're achievement hunting, keep a dedicated no-cheats world and do your experimenting somewhere else.
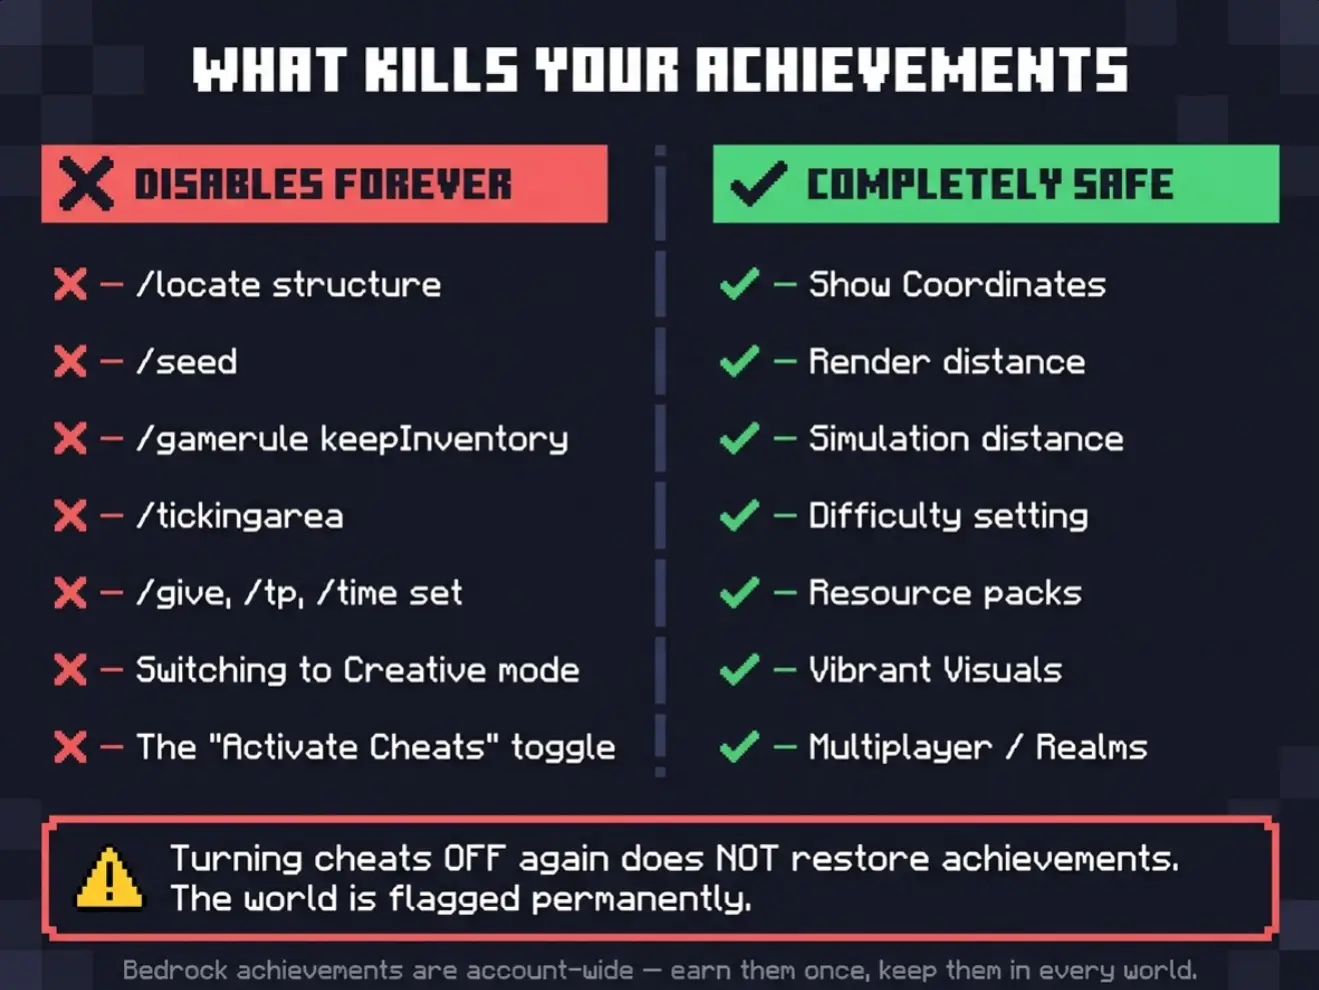
Worth knowing: some things that feel like cheats are actually safe. Show Coordinates is a normal Game setting and does not affect achievements. Neither do render distance or simulation distance. Only actual cheats and Creative mode do.
If you've already flagged a world you care about, it's technically possible to restore achievements by editing the world file's cheat flags with an external NBT tool. Back the world up first, since editing save data can corrupt it.
#1 Camouflage (Hardest Overall)
Requirement: Kill a mob while wearing that same mob type's head.
This sounds trivial and is brutal, because getting a mob head in Bedrock survival is a chain of rare requirements stacked on top of each other.
Mob heads only drop when a mob is killed by a charged creeper explosion. To get a charged creeper, lightning has to strike within a few blocks of a regular creeper. Waiting for natural lightning to do that on its own is effectively random, so the practical route is a trident with the Channeling enchantment, which summons lightning wherever you hit.
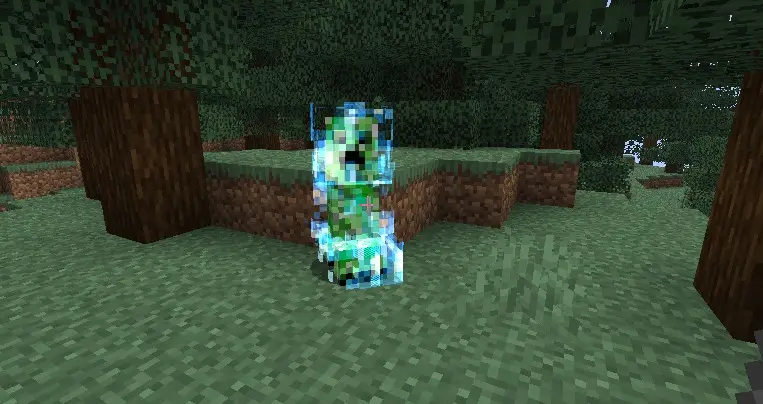
That means the real requirement chain is:
- Kill drowned until one drops a trident (uncommon, and only some drowned even spawn holding one)
- Enchant it with Channeling, either from an enchanting table or a librarian book
- Wait for a thunderstorm, since Channeling only works during one
- Find a creeper and a second mob near each other
- Hit the creeper with the trident to charge it
- Get the charged creeper to explode near the other mob, without killing yourself
- Collect the head
- Wear it and kill another mob of that same type
Tips
Farm tridents from a drowned farm. Manually hunting drowned for a trident can take a very long time. If you have the resources, an automated drowned farm turns this from luck into a waiting game.
Get Channeling from a librarian. Rerolling a librarian's trades for a Channeling book is far more reliable than gambling on an enchanting table. Break and replace the lectern until it appears, and don't trade with that villager until it does, since trading locks their offers permanently.
Use zombies or skeletons as your target. They're the easiest mobs to find in numbers, and getting a second one to kill afterward is trivial. Don't make this harder by going for a rare mob's head.
Set up before the storm. Thunderstorms don't last long. Have your trident enchanted, your target area lit and prepared, and a creeper already contained so you're not scrambling when the sky turns.
Stand back. A charged creeper explosion is roughly double a normal one. Trigger it from distance or from behind a block, or you'll die holding the head you just earned.
#2 Beaconator (Hardest Grind)
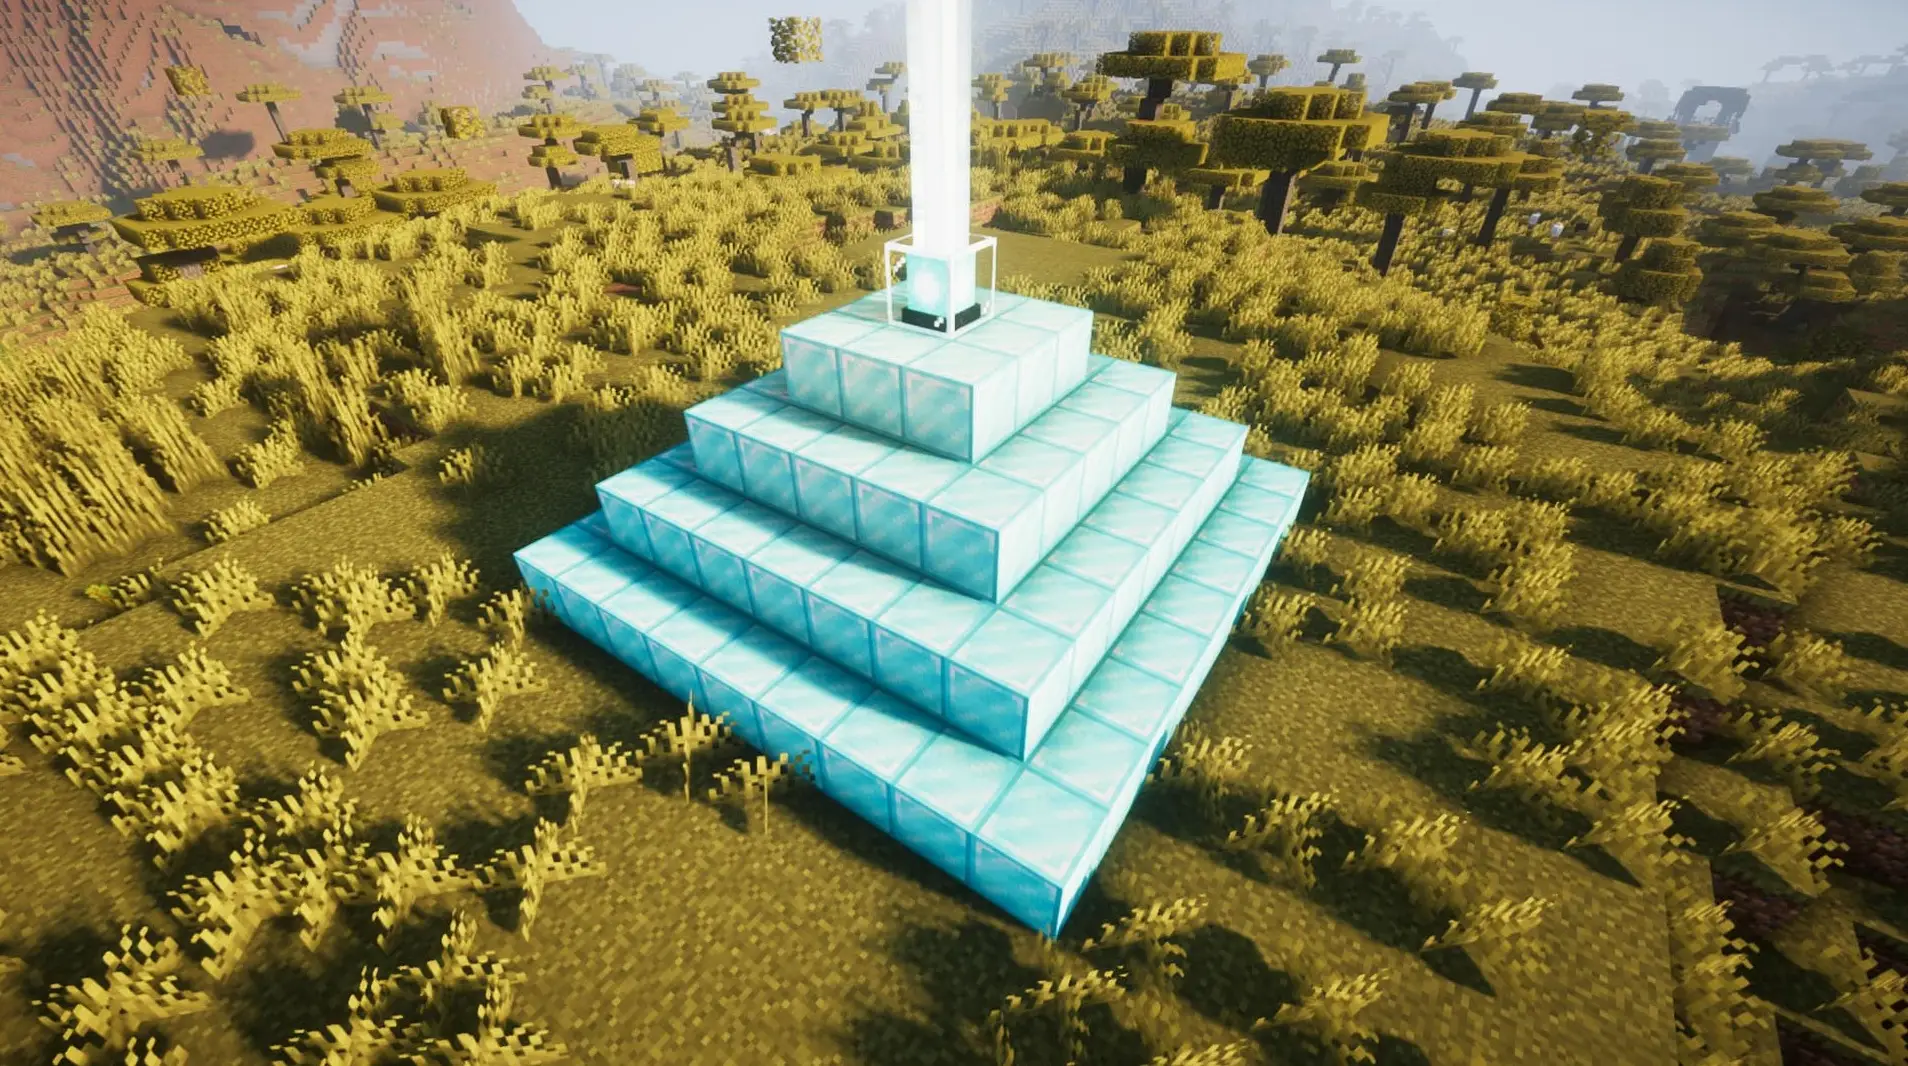
Requirement: Create a full-power beacon.
No skill, no RNG, no timing. Just an enormous amount of mining. The Minecraft Wiki calls this one of the most tedious achievements in the game, and the numbers explain why.
A full four-tier beacon pyramid needs 164 blocks of iron, gold, emerald, diamond, or netherite. That's 1,476 ingots, roughly 23 stacks. Plus the beacon itself, which needs a nether star from killing the Wither, plus obsidian and glass.
Tips
Build the pyramid from iron. Any of the five block types works and they can be mixed, so use whatever is cheapest. Iron is renewable and farmable; diamonds are not. Never burn diamonds on a beacon base.
Build an iron farm first. This is the single biggest time-saver. A working Bedrock iron farm produces hundreds of ingots per hour passively. Building the farm takes an afternoon; mining 1,476 iron by hand takes considerably longer than that.
Mix in whatever else you have. Got 30 gold blocks lying around from bastion runs? Throw them in. The game doesn't care about consistency, only the block count.
Handle the Wither carefully on Bedrock. The nether star requires killing the Wither, and the Bedrock Wither is significantly tougher than Java's, with double the health and a dash attack. The classic approach is to spawn it in a confined bedrock pocket where it gets stuck and can't move freely.
Work upward. Build tier one, then two, then three. Seeing partial progress makes a long grind feel much shorter than staring at an empty pit.
#3 The End... Again... (Hardest Chain)
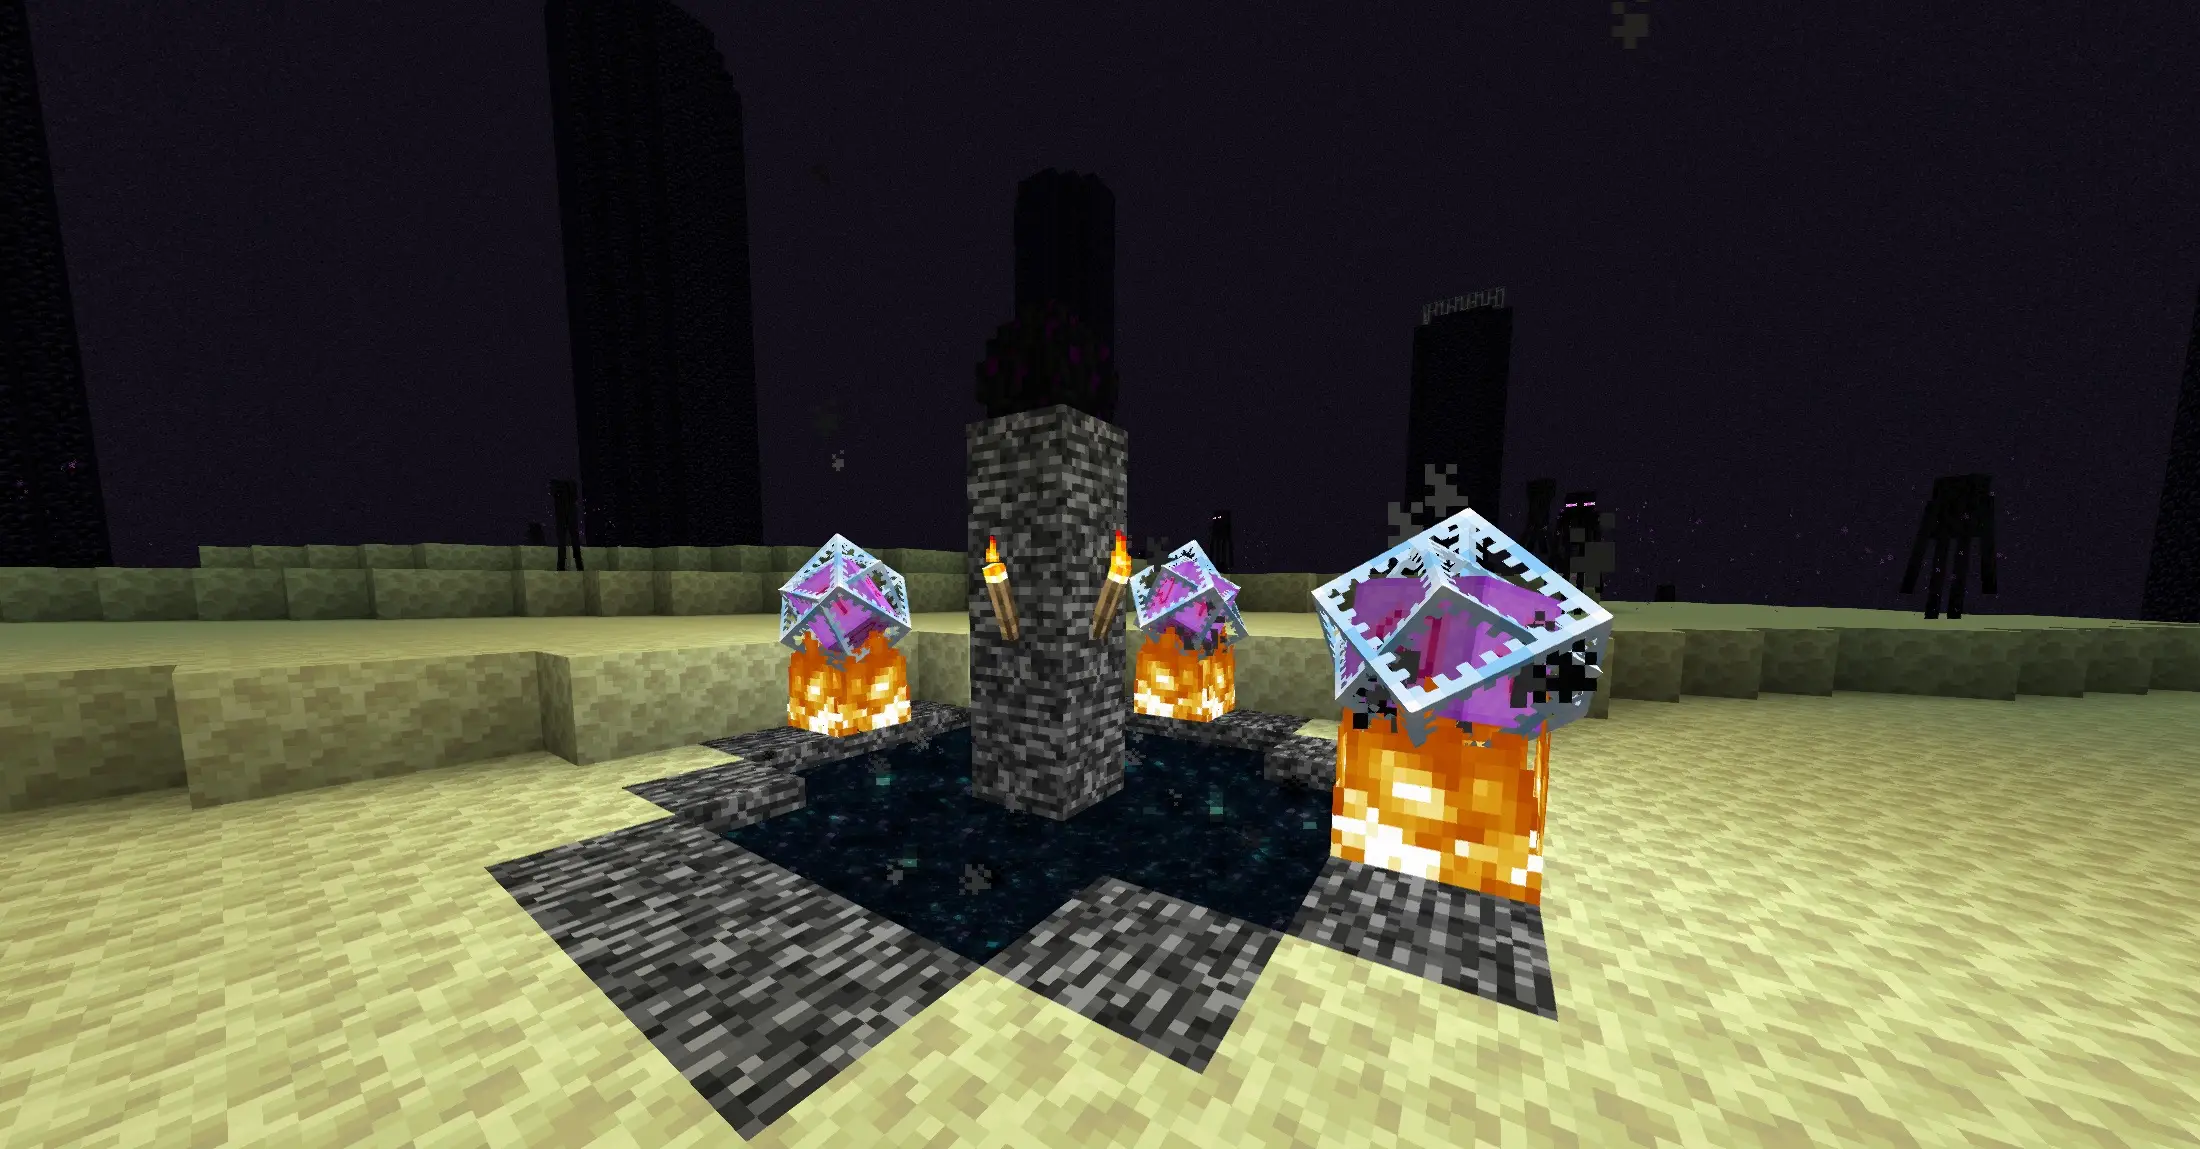
Requirement: Respawn the Ender Dragon.
This isn't hard because of one difficult step. It's hard because it sits at the end of a long chain where every prerequisite is itself substantial.
To respawn the dragon you need four End Crystals. Each one requires 7 glass, 1 eye of ender, and 1 ghast tear. Which means before you can even attempt this achievement, you must have already found a stronghold, beaten the dragon once, and farmed enough ghasts to build four crystals.
Tips
Ghast tears are the real bottleneck. Ghasts drop 0-1 tears, and the drop usually lands in lava because ghasts float over it. Hunt them in soul sand valleys or nether wastes where there's more solid ground under them.
Deflect fireballs back at them. A returned fireball counts as a player kill, so the tear drops normally. It also happens to be one of the more satisfying things you can do in the Nether.
Bring extra materials. Craft five crystals if you can. Losing one to a misplaced explosion after the entire ghast grind is a genuinely painful way to lose an hour.
Place three crystals, then step back before the fourth. All four detonate the instant the last one is placed. Standing next to them will kill you outright. Place the final crystal from a distance.
The dragon egg only drops once. Respawned dragons don't drop it. If you want the egg, get it from your first kill.
For the full crystal placement walkthrough and the second fight itself, see our guide to respawning the Ender Dragon.
Honorable Mentions
Not top three, but they stop plenty of people.
Cover Me in Debris: wear full netherite armor. Sixteen ancient debris just for the armor set, plus smithing templates. Mostly a mining problem; our ancient debris guide covers the fastest method.
Adventuring Time: visit every biome. Not difficult, just enormous. Rare biomes like mushroom fields and deep frozen oceans can take a very long time to stumble across.
Return to Sender: kill a ghast with its own fireball. Pure timing. Practice on any ghast you meet; you'll get it eventually and it pairs perfectly with ghast tear farming.
Sniper Duel: kill a skeleton from 50+ blocks with a bow. The hard part is line of sight, not aim. Build a tower over a flat open area at night and shoot down at skeletons in the field.
Hero of the Village: survive a raid. Manageable with preparation, but the villagers have to survive too. Wall them in somewhere safe before you trigger it.
General Strategy
Keep one clean achievement world. No cheats, no Creative, no ticking areas. Do all your testing and building experiments elsewhere.
Play on Hard difficulty. Several achievements and mechanics are easier or only possible at higher difficulty, and Bedrock achievements don't have a difficulty requirement, so there's no downside beyond the challenge itself.
Batch the Nether work. Ghast tears, ancient debris, blaze rods, and nether stars all live in the same dimension. One well-equipped Nether trip can knock out prerequisites for several achievements at once.
Build farms early. Iron, gold, and mob farms turn the grind-heavy achievements from weeks into afternoons. The time you spend building a farm is almost always less than the time you'd spend mining manually.
Track them. Use the "in progress" flag so the game does the bookkeeping for you.