How to Find Trial Chambers in Minecraft Bedrock
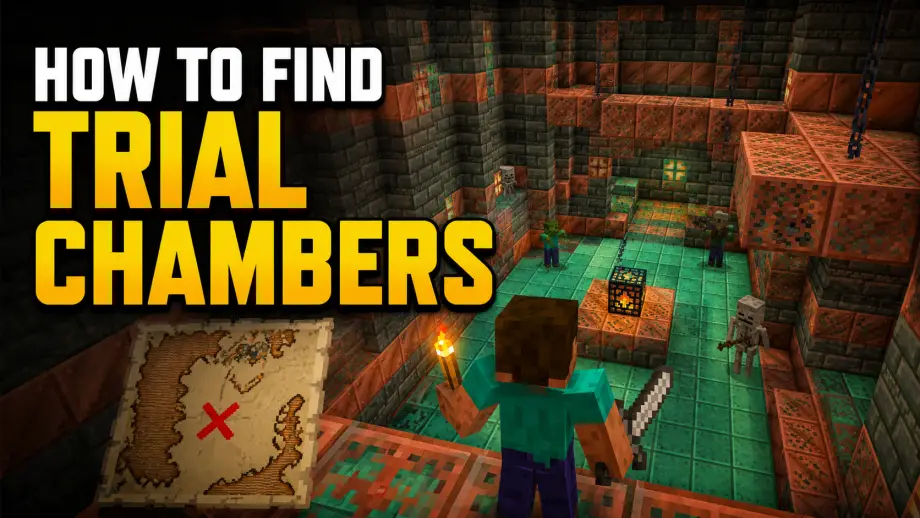
Trial chambers are the biggest combat challenge Minecraft has added in years. They're massive underground labyrinths stuffed with unique spawners, a mob you can't find anywhere else (the Breeze), and loot that includes the only way to craft a Mace. The problem? They're buried deep underground with no surface-level clues pointing to them.
Here's how to track one down, what to bring, and how to survive once you're inside.
Where Trial Chambers Generate
Trial chambers spawn underground in the Overworld. The main entrance room generates between Y = -40 and Y = -20, but the rest of the structure can extend above and below that range. Most of the rooms sit between Y = -20 and Y = 0.
They generate in any Overworld biome. There's no biome restriction, so you don't need to look for a specific terrain type.
One important detail: trial chambers only exist in chunks created after the 1.21 update (Bedrock Edition 1.21.0). If you've been playing the same world since before 1.21, you'll need to travel to unexplored territory where new chunks will generate. Areas you've already loaded won't suddenly get trial chambers.
Method 1: Buy a Trial Explorer Map
This is the intended survival method and doesn't require cheats.
- Find or breed a cartographer villager (place a cartography table near an unemployed villager)
- Trade with the cartographer until they reach Journeyman level (level 3)
- At Journeyman, they'll offer a Trial Explorer Map for emeralds and a compass
- The map works like any explorer map: it shows the outline of the terrain with a marker pointing to the nearest trial chamber
- Follow the marker, dig down at the indicated location
This method takes some setup (leveling the cartographer), but it gives you an exact location without enabling cheats. If you already have a trading hall, it's the fastest legit route.
Method 2: Use the /locate Command
If cheats are enabled:
/locate structure trial_chambers
The game returns the coordinates of the nearest trial chamber. Walk or teleport there and dig down. Remember that the entrance sits between Y = -40 and -20, so you'll need to go deep.
Enabling cheats disables achievements, so use the cartographer method if that matters to you.
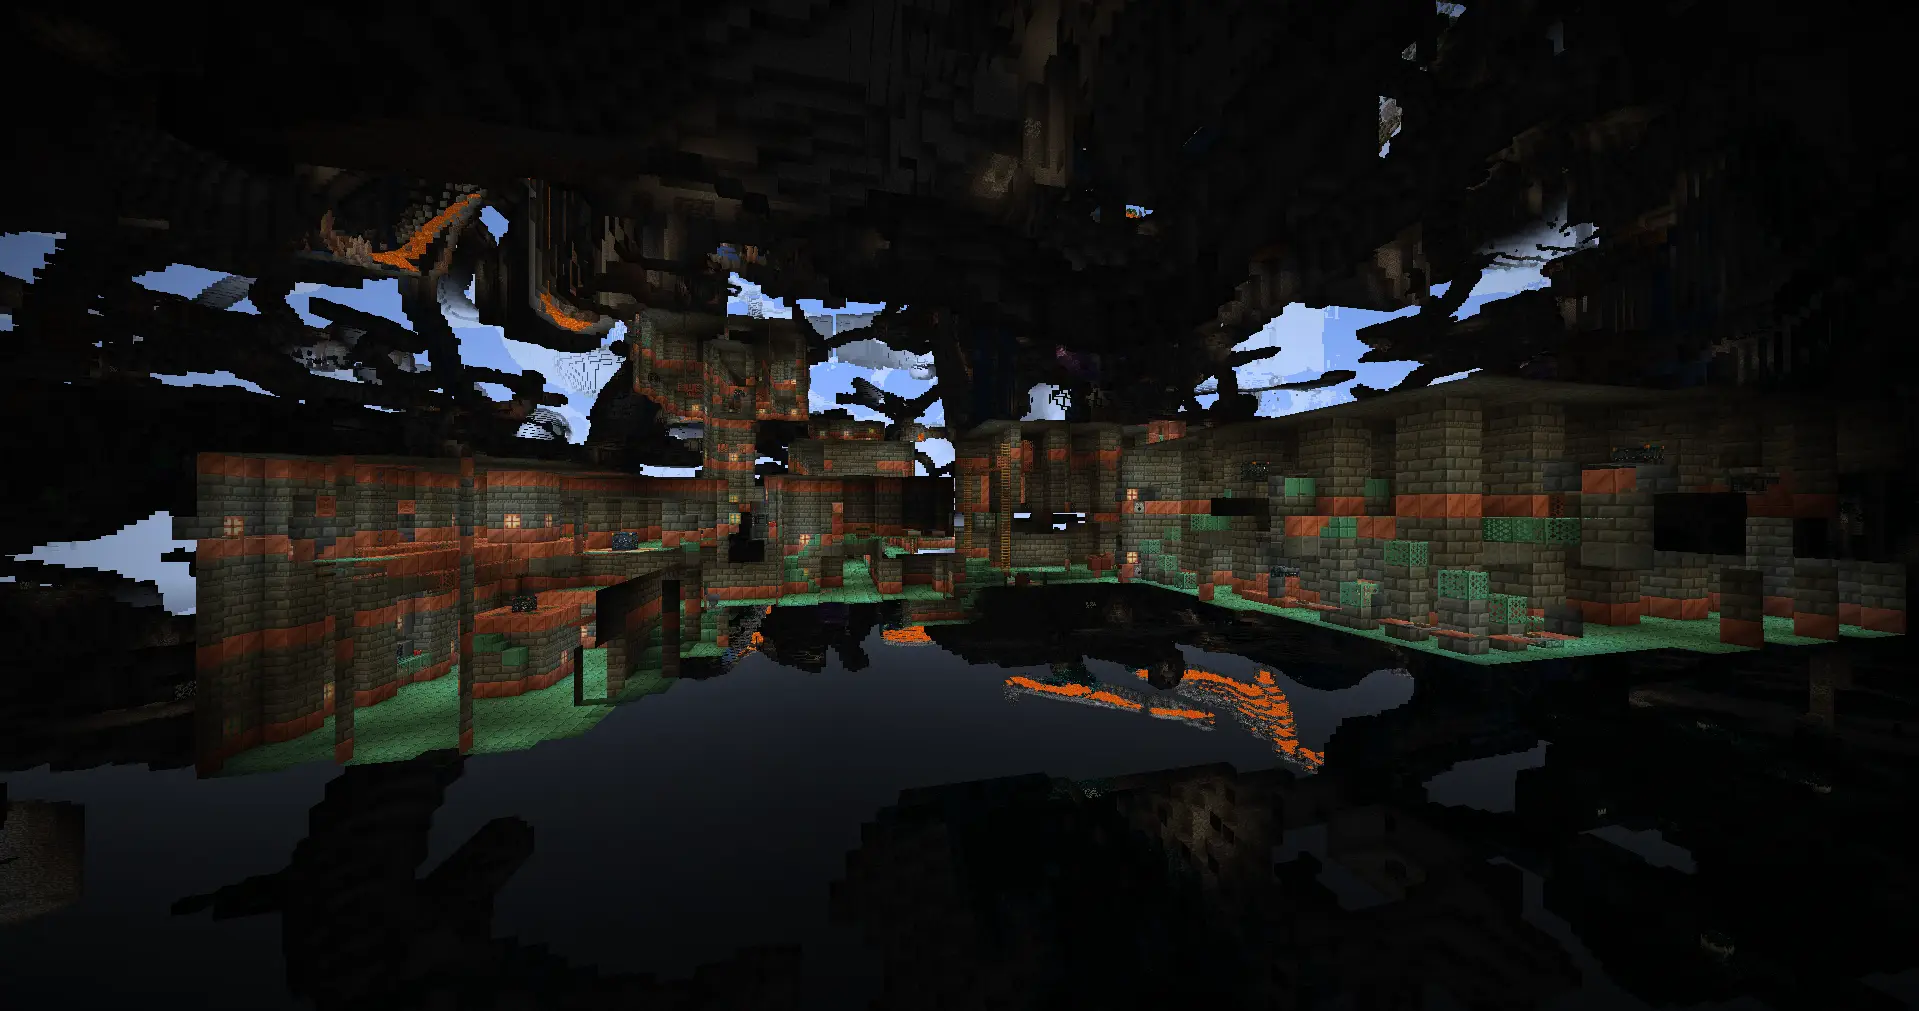
Method 3: Just Mine Into One
Trial chambers are large structures built from tuff bricks and copper blocks. If you're mining or caving in the Y = -40 to 0 range and you see tuff bricks, polished tuff, or copper that looks deliberately placed, you've hit a trial chamber wall. Dig in.
This method is luck-based, but trial chambers are fairly common. If you're already strip mining for diamonds at Y = -59, you're in the right depth range to stumble into one from below.
What to Bring
Trial chambers are a serious step up from regular mob encounters. Walking in unprepared is a fast way to lose everything.
Armor: full diamond minimum, enchanted if possible. Protection IV is ideal. Feather Falling on boots is important because the Breeze's wind charges launch you into the air, and falling damage adds up fast.
Weapons: a strong sword (Sharpness IV+) and a bow with arrows. You need both. Some mobs are easier to handle at range, and the Breeze jumps around so much that melee-only gets frustrating.
Shield: essential. Blocks wind charges, arrow fire, and melee hits in tight corridors. On Bedrock, shield mechanics work well against most trial chamber mobs.
Food: at least half a stack of good food (golden carrots or cooked steak). You'll take a lot of chip damage across multiple spawner fights.
Building blocks: two stacks of cobblestone or dirt. You'll use these to block off corridors, create cover during fights, seal spawners you've already cleared, and mark areas you've explored so you don't get lost.
Pickaxe: iron or better. You'll need it to break into hidden rooms and mine through tuff.
Milk buckets: the Bogged (a skeleton variant found in trial chambers) shoots poison arrows. Drinking milk clears the poison effect instantly.
How Trial Spawners Work
Trial spawners are the core mechanic of the structure. They're different from regular mob spawners in several important ways:
They ignore light level. Placing torches around them does nothing. Mobs spawn regardless of how well-lit the room is.
They scale with player count. Solo, a spawner sends out smaller waves. With more players nearby, more mobs spawn per wave. This makes trial chambers genuinely harder in multiplayer, not just more chaotic.
They have a mob limit. Each spawner summons a fixed total number of mobs. Once you've killed them all, the spawner deactivates, drops loot (including a chance at a Trial Key), and enters a 30-minute cooldown.
Each chamber picks its mobs at generation. When the world generates the trial chamber, it randomly selects one mob from each category (melee, small melee, ranged, and Breeze). So one chamber might have zombies and skeletons, while another has husks and strays. The Breeze is always present.
Fighting the Breeze
The Breeze is the signature mob of trial chambers and unlike anything else in Minecraft. It floats, leaps up to 15 blocks, fires wind charges that knock you back, and deflects most projectiles. Regular arrows bounce off it.
What works:
- Melee when it lands. The Breeze pauses briefly between jumps. That's your window. Sprint in, get 2-3 sword hits, back off.
- Wind charges against it. The Breeze doesn't deflect wind charges. If you have any from previous kills, use them.
- Use cover. Pillars, walls, placed blocks. The wind charges can't go through solid blocks. Let it fire, step out, attack.
Breezes drop Breeze Rods on death (0-2, more with Looting). You need these to craft the Mace.
Loot Worth Caring About
Trial chambers have two types of reward containers: vaults (opened with Trial Keys) and ominous vaults (opened with Ominous Trial Keys). Each vault can be opened once per player, so in multiplayer everyone gets their own loot from the same vault.
The items you can only get here:
- Heavy Core — drops from ominous vaults. Combined with a Breeze Rod to craft the Mace, a weapon that deals more damage the further you fall before hitting a mob. It's the only weapon in the game with this mechanic.
- Breeze Rods — from killing Breezes. Used for the Mace and crafting wind charges.
- Wind Burst enchantment book — exclusive to trial chamber vaults. Launches you upward when you hit a mob with the Mace, enabling combo attacks.
- Flow and Bolt smithing templates — exclusive armor trims.
- Flow and Guster banner patterns — decorative, exclusive to trial chambers.
- Scrape, Flow, and Guster pottery sherds — found in decorated pots throughout the structure.
Regular vaults also contain diamonds, enchanted gear, enchanted books, and other useful mid-game items.
Ominous Trials (Hard Mode)
If you want better loot, you can trigger ominous trials. Here's how:
- Get the Bad Omen effect by drinking an Ominous Bottle (dropped by raid captains, or found in regular trial chamber vaults)
- Approach a trial spawner while you have Bad Omen
- The effect converts to Trial Omen, and all spawners in the chamber become ominous
- Ominous spawners send tougher mobs, often with enchanted armor and weapons
- Defeating ominous spawners drops Ominous Trial Keys instead of regular ones
Ominous vaults have better loot tables, including the Heavy Core. If you want the Mace, ominous trials are where you'll find the materials.
Survival Tips
Clear rooms one at a time. Trial chambers are maze-like with multiple branching paths. If you rush through, you'll activate multiple spawners at once and get overwhelmed. Clear one room, block off the entrance behind you, move to the next.
Mark your path. Place torches or blocks in a consistent pattern (always on the right wall, for example) so you can find your way back. These structures are large and confusing.
Set a bed nearby. Before entering, set your spawn point with a bed at the surface above the chamber. If you die, you respawn close enough to get your stuff back.
Don't break the spawners. Trial spawners can't be picked up or moved, and they're on a 30-minute cooldown per player. If you want to farm them later for keys and loot, leave them intact.
Watch for dispensers. Some rooms have dispensers on the walls that fire projectiles or splash potions when buttons are pressed. The Breeze can activate these buttons with its wind charges, so you might get hit by fire charges or arrows from a direction you weren't expecting.